
Biting into a warm cookie is pure bliss whether you prefer soft, melt-in-your-mouth treats or those that crunch and crumble. And thankfully, they’re easy for home bakers of all levels to make. Cookies range in flavor, shape and size, and there are hundreds of recipes circulating online as well as in cookbooks. That means you can easily find one that aligns with what you’re craving and how comfortable you are in the kitchen.
We talked to professional bakers about the steps involved in making homemade cookies and the tools they recommend using throughout the baking process. With their guidance in mind, we put together a list of highly rated items, expert picks and products we’ve used ourselves. Experts also shared tips about how to know when your cookies are done baking, how to store them and why the freezer can be your best friend.
SKIP AHEAD Make the cookie dough | Shape the cookies | Bake the cookies | Let the cookies cool | Cookie decorating | How to store cookies
Our top picks
Step 1: Decide what type of cookie to make
The type of cookie you’re making impacts the ingredients and tools you’ll need, plus it gives you an idea of how long the process will take. Some of the most common cookie types include:
- Drop cookies: As the name implies, you make drop cookies by dropping balls of dough onto a sheet pan. The dough spreads in the oven, giving the cookies a round shape once baked. Drop cookies are the easiest cookies to make, experts told us, and popular types include chocolate chip, oatmeal raisin and peanut butter cookies.
- Cut out cookies: The star of any holiday cookie box, cut out cookies are made by rolling out dough and using cookie cutters to create shapes. They are also a great option for beginner cookie bakers. People traditionally make cut out cookies from sugar or gingerbread cookie dough, but the flavor possibilities are endless.
- Spritz cookies: Spritz cookies are made using a cookie press, a tool that pushes dough through a patterned disc. The dough is very soft, which makes it easy to force through the press. Once they bake, spritz cookies have a lighter texture compared to cut out cookies, says Elizabeth Barbone, a recipe developer and cookbook author who runs the sites Cook Fast, Eat Well and Gluten-Free Baking. Since using a cookie press can be tricky, experts recommend mastering more beginner-friendly bakes first, like drop, cut out and slice-and-bake cookies.
- Slice-and-bake cookies: To make slice-and-bake cookies, you roll dough into logs and refrigerate them. Once the dough is chilled, you slice the logs into rounds and bake them on a cookie sheet. Slice-and-bake cookies are shortbread cookies, meaning they’re buttery and have a crumbly texture. They’re pretty straightforward to make, especially once you’ve baked drop and cut out cookies, in my experience.
After you decide what type of cookie you’re making, find a recipe online or in a cookbook that aligns with your flavor preferences and baking experience level. Read the recipe to learn about the different steps and supplies required. Also be sure to check how many cookies the recipe yields so you don’t end up with 36 when you only wanted a dozen.
Step 2: Make the cookie dough
It might sound obvious, but while making cookie dough, follow a recipe exactly as it’s written, says Penny Stankiewicz, a chef-instructor of pastry and baking arts at the Institute of Culinary Education. Don’t substitute ingredients, and know that if you do, your cookies won’t taste or have the same texture as the recipe intended. There is one exception to the rule, however: You can play with a recipe’s flavors and mix-ins. “As long as you don’t mess with the structural ingredients of the recipe, like flour, butter and sugar, you’re not going to wreck its integrity,” says Stankiewicz. “For example, you can change how much vanilla extract you add, sprinkle cinnamon into your dough or use two types of chocolate chips instead of one.”
Below are tools experts recommend using while making cookie dough.
Kitchen scale or measuring cups
You can either measure ingredients by volume or by weight. Measuring by volume involves using liquid and dry measuring cups, while measuring by weight involves using a kitchen scale. Arlyn Osborne, a recipe developer, food writer and the author of the forthcoming cookbook “Sugarcane,” recommends measuring ingredients by weight. She says it’s more precise and helps ensure that cookies are consistent every time you make them.
Hand mixer or stand mixer
The majority of cookies home bakers make involve the creaming method, which means the first step in the recipe is to cream room temperature butter and sugar together, says Stankiewicz. Using a stand mixer with the paddle attachment is the easiest way to do so, experts told us. They also recommend keeping a flexible silicone spatula on hand to periodically scrape the sides of the bowl. Stankiewicz prefers KitchenAid’s stand mixers, but says any brand will do. And while you can use a hand mixer or spoon to cream butter and sugar for cookies, it’s not as efficient.
Mixing bowls
Mixing bowls are available in glass, ceramic, metal and more, but their material doesn’t matter when it comes to making cookies, says Barbone. What does matter, however, is the mixing bowl’s size. Ingredients can spill out of bowls that are too small while you’re stirring, she says. And while there’s no such thing as a bowl that’s too large while you’re hand-mixing, there is if you’re using a stand mixer. Mixing bowls that are too large may prevent the paddle from reaching its sides, smearing ingredients into a paste along the bottom of the bowl instead of whipping it until fluffy, says Barbone.
Step 3: Shape the cookies
Each type of cookie has a signature shape, which you achieve using specific tools. Below we listed what you’ll need to form drop, cutout, spritz and slice-and-bake cookies, plus expert guidance about what to look for when shopping for each tool.
Cookie scoop
Used for: Drop cookies
Cookie scoops help you create balls of dough that are the exact same size, causing the batch to bake evenly, says Barbone. She prefers cookie scoops with a trigger handle since they quickly release balls of dough, which makes shaping drop cookies fast and efficient.
Cookie scoops come in a variety of sizes, which you’ll see listed as a number that corresponds to the number of scoops per quart of dough. For example, a #40 scoop gives you about 40 scoops per quart, while a #10 scoop gives you about 10 scoops per quart — this means the #10 scoop is larger than the #40 scoop. There’s no standard scoop size you should look for, but #40 is common for cookies, says Barbone. If you make cookies often, consider buying a large, medium and small scoop so all your bases are covered.
Rolling pin
Used for: Cutout cookies
You don’t technically need to invest in a rolling pin since you can use household objects as alternatives, like wine bottles or canned foods. But a rolling pin tends to offer more even results, so if you plan on baking often, it’s nice to have.
Rolling pins come in many styles, all of which help you flatten dough. But Osborne prefers French tapered rolling pins, which are shaped similarly to batons and wider in the middle with narrower ends. She says French rolling pins are easy to maneuver and give you lots of surface area to place your hands while going over the dough.
Cookie cutters
Used for: Cutout cookies
Cookie cutters come in hundreds of shapes. You can buy them in basic shapes like circles, hearts and squares, or holiday themed shapes like gingerbread men and menorahs. Cookie cutters also come shaped as animals, numbers, letters, symbols and more. Some sites even let you create custom cookie cutters, which is a great option for themed events.
While shopping, you’ll see plastic and metal cookie cutters, either of which will do. But each material offers its own strengths and weaknesses.
Metal cookie cutters give cookies clean, crisp edges and they’re easy to clean since you can put them in the dishwasher, says Barbone. But they’re sharper compared to plastic cutters, so they’re not great for kids to use. Metal cookie cutters are also quite durable, says Stankiewicz. If you care for them properly, they can last for decades. In fact, Stankiewicz says her family’s copper cookie cutters have been passed down for generations and are an heirloom of sorts.
Plastic cookie cutters, on the other hand, are duller compared to metal options. This makes them suitable for kids, but they can give cookies messy, smushed edges, says Barbone. And even if the plastic cookie cutters you buy say they’re dishwasher safe, it’s best to hand-wash them, says Stankiewicz. Heat from the dishwasher can cause them to melt or become misshapen.
Cookie press
Used for: Spritz cookies
A cookie press is a cylindrical tool with a plunger on one end and interchangeable discs on the other. Each disc has cutouts on it, creating different shapes. You load dough into the body of the press and use the plunger to push it through the disc’s holes, resulting in perfectly shaped cookies. You move the press’ head along the sheet pan and push out one cookie at a time.
Barbone recommends buying a cookie press that comes with metal discs, which cleanly release dough so each cookie’s shape is clearly defined. If possible, avoid plastic cookie presses as they’re more prone to getting clogged and breaking, she says.
Plastic cling wrap
Used for: Slice-and-bake cookies
After rolling your cookie dough into logs, you wrap each one in plastic cling wrap and put them in the refrigerator for a few hours or overnight. The plastic wrap keeps the dough fresh while it’s chilling and it helps keep out odors and moisture. If you’re looking for a plastic wrap alternative, you can opt for reusable beeswax wrap. Some brands also make silicone tools to help you size, shape and store slice-and-bake cookie dough.
Step 4: Bake the cookies
Putting cookies in the oven is often the most nerve-wracking step for home bakers — no one wants to put effort into perfecting dough and end up with a burnt final product. To ensure cookies come out golden brown and ready to sink your teeth into, consider using the below expert-recommended tools.
Oven thermometer
Despite setting your oven to a specific temperature, it probably doesn’t warm up exactly where you want it, unless it was recently calibrated, says Stankiewicz. This means your baked goods are likely cooking at a slightly lower or slightly higher temperature than you’re anticipating, which impacts cooking time. To help confirm your oven reaches the right temperature before adding your cookies, Stankiewicz recommends buying an oven thermometer. It hooks onto the oven’s racks and reads its internal temperature, which you can monitor while your oven is preheating to adjust its settings accordingly.
Sheet pans
Experts recommend keeping a couple half-sheet pans in your kitchen at all times because they’re so versatile. You can use them to bake and cook sweet and savory foods, plus they last for years if cared for properly.
For cookies specifically, it’s best to use rimmed sheet pans, experts told us. “I never use a sheet pan without a rim because there’s always a chance something could slide off the edge,” says Barbone. This is especially the case with cookies. Recipes often tell you to rotate the sheet pan halfway through baking to ensure all of the cookies bake evenly, and if your sheet pan doesn’t have a rim, the cookies may slide off during this process.
Additionally, be sure to pay attention to the color of your sheet pan. Darker sheet pans tend to conduct more heat, which means the bottoms of your cookies will bake faster than the tops, says Stankiewicz. This is often why people end up with cookies that are burnt on the bottom but still raw on top. Use a lighter colored sheet pan to avoid this issue, says Stankiewicz.
Parchment paper or silicone baking mats
Parchment paper and silicone baking mats serve the same purpose and are essentially interchangeable when it comes to baking cookies. They line your sheet pan, provide a nonstick surface to bake on and make cleanup a breeze. You can also line your pan with tin foil, but since the material conducts heat, it can make the bottoms of your cookies darker and speed up baking time, so it’s not preferred, says Sarah House, the food innovation chef and recipe and development lead at Bob’s Red Mill.
Beyond one being disposable and the other being reusable, the main difference between parchment paper and silicone baking mats is how much cookies can grip them. Silicone baking mats are so nonstick that cookies don’t have much to grasp onto, which might cause them to spread a little bit too much while baking, says Barbone. Parchment paper is still nonstick, but cookies can grip to it more, reducing spread. Thus, Barbone usually opts for parchment paper instead of silicone baking mats for cookies, but it’s ultimately a personal preference.
Silicone baking mats come in a variety of sizes, so buy one that fits your sheet pan. As for parchment paper, Stankiewicz recommends buying it in sheets rather than rolls. Rolled parchment paper can be challenging to work with since it tends to curl in on itself, making it challenging to cut to your desired size. Parchment paper that comes in sheets is flat and won’t curl, so cutting it is easy.
Timer
It’s important to keep track of how long cookies have been in the oven relative to the estimated bake time detailed by your recipe. You can use a mechanical or digital timer or devices like your phone or watch.
Remember that a recipe’s estimated bake time is just a guideline, says Stankiewicz. Factors like the type of oven you’re using, whether you preheated it and how many trays of cookies are baking at once can impact baking time, experts told us. Because of this, one of the best ways to determine cookie doneness is by using your nose. “Once you start smelling the cookies, start checking on them,” says Stankiewicz. From there, pay attention to the cookies’ color and texture. Fully baked cookies are usually golden brown and have a matte rather than glossy appearance, so once you see those signs and smell them, pull them out of the oven.
Step 5: Let the cookies cool
Upon taking your cookies out of the oven, let them cool on the sheet pan for five to 10 minutes before gently moving them to a cooling rack with a spatula, says House. If you leave cookies on a hot pan, they’ll continue baking and can become overdone. But placing cookies on a cooling rack allows air to circulate around them, cooling them quickly and preventing extra baking.
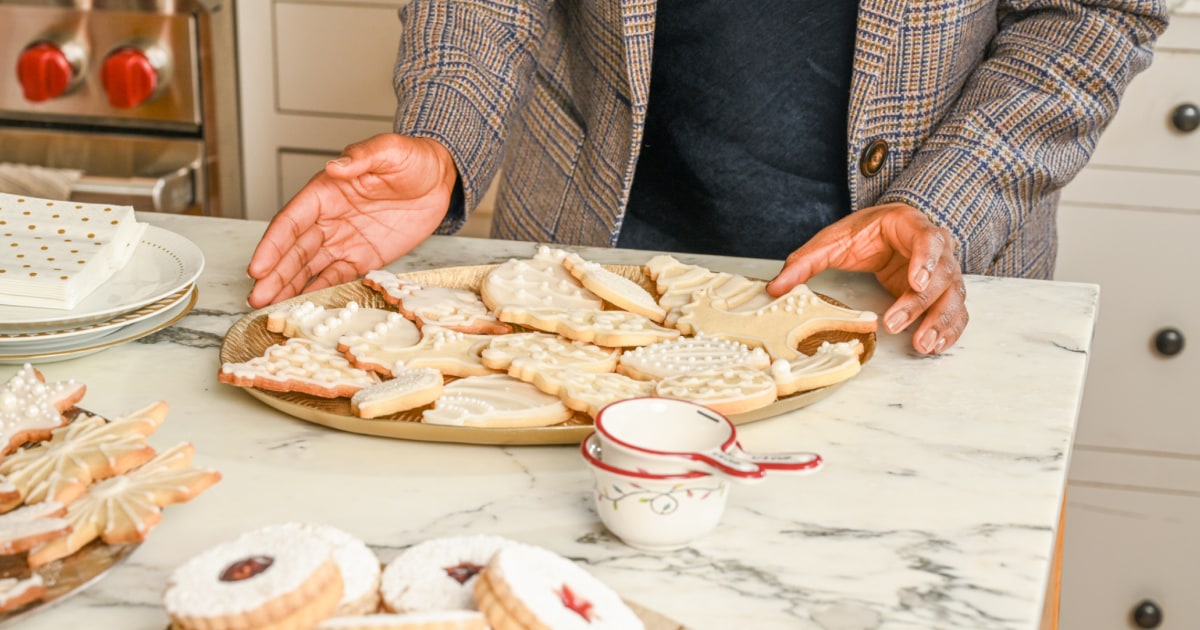
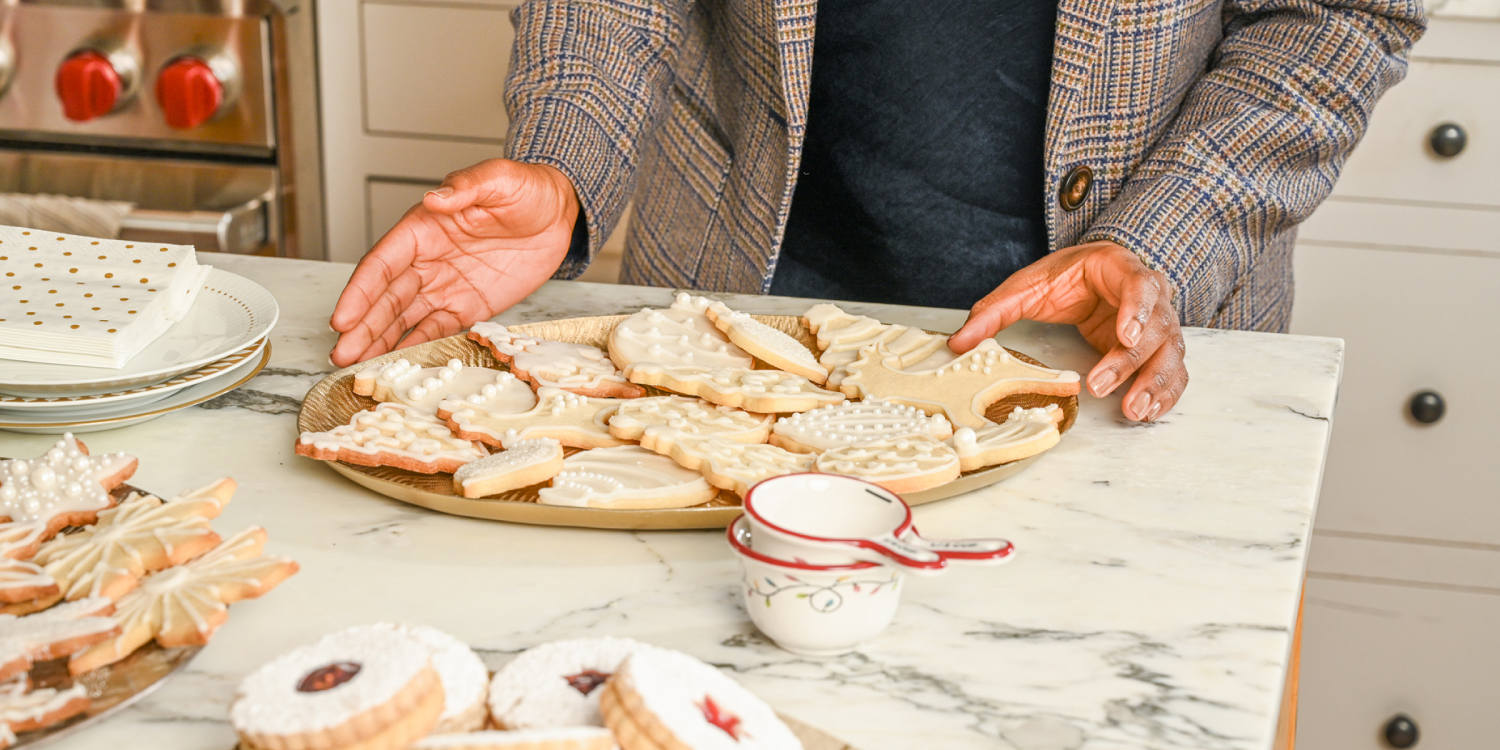
Step 6: Decorate the cookies
Once the cookies are cool, you can decorate them however you’d like, although it’s not a required step — they’re delicious straight out of the oven. Dust your cookies with powdered sugar, make a glaze or frosting, top them with sprinkles and more. Some helpful decorating tools include an offset spatula for spreading glaze and frosting, and if you want to get fancy, a set of piping tips and piping bags can help you create detailed designs, says House. You can also make a piping bag out of a plastic sandwich bag.
Step 7: Store the cookies
As long as you bake cookies all the way through, most batches have a week-long shelf life, experts told us. Store them in a container with a tightly sealed lid to keep air out, and stack them with parchment paper between each layer so they don’t stick together.
If you need to store fully baked cookies beyond a week, Barbone recommends freezing them. The best way to do so is by laying the cookies out on a sheet pan or plate and putting them in the freezer. Once they’re frozen, transfer them to an airtight container or tightly sealed bag, like a Ziploc or reusable silicone storage bag. They keep well for at least three to five months, says Osborne.
Cookie baking tips to keep in mind
Throughout their years of baking cookies, our experts have seen and experienced their fair share of mistakes. Below, they’re sharing tips for how to avoid common issues in the kitchen.
- While rolling out cookie dough for cut out cookies, it can stick to your rolling pin and countertop. To prevent this, people often sprinkle flour on the dough and surface its resting on. But doing so adds flour to the dough and too much can dry it out. Instead, Stankiewicz recommends rolling out the dough between two pieces of parchment paper to prevent sticking.
- If you’re measuring dry ingredients by volume, spoon them into measuring cups until they dome over the top. Then scrape a knife along the top of the measuring cups to level them off, says Osborne. This helps you avoid adding excess ingredients to your dough.
- The bottoms of cookies can burn for a number of reasons, but if you notice it happening every time you use a specific sheet pan, odds are the pan is too thin. Thin sheet pans transfer too much heat to cookies’ bases, causing them to bake faster than the rest of the treat and get darker at the bottom. Instead of buying a new set of pans, consider stacking two on top of each other, says Osborne. Doing so adds an extra layer of protection for the cookies’ bases since the two pans absorb double the amount of heat.
- To keep cookies soft, experts recommend adding a piece of white bread to the container you’re storing them in. The bread releases its moisture inside the container, which the cookies slowly absorb so they don’t dry out. You can replace the bread with a new piece about every two days.
- If you’re making drop cookies and they lose their round shape in the oven, don’t be discouraged. Cookies are soft and moldable when they’re hot, so you can adjust them slightly so they turn back into a perfect circle. To do so, take a circular cookie cutter or cup that fits over your cookies and gently swirl it around each one immediately after removing the pan from the oven, says Stankiewicz.
Meet our experts
At NBC Select, we work with experts who have specialized knowledge and authority based on relevant training and/or experience. We also take steps to ensure that all expert advice and recommendations are made independently and with no undisclosed financial conflicts of interest.
- Elizabeth Barbone is a recipe developer and cookbook author who runs the sites Cook Fast, Eat Well and Gluten-Free Baking. She has over two decades of culinary experience and graduated from the Culinary Institute of America.
- Penny Stankiewicz is a chef-instructor of pastry and baking arts at the Institute of Culinary Education.
- Sarah House is the food innovation chef and recipe and development lead at Bob’s Red Mill. She is a research and development chef with over 10 years of product development experience specializing in bakery and ready-to-eat. House trained at the Culinary Institute of America and she leads the test kitchen at Bob’s Red Mill’s headquarters.
- Arlyn Osborne is a recipe developer, food writer and the author of “Sugarcane,” her forthcoming cookbook. You can find her on Instagram @arlynosborne.
Why trust NBC Select?
Zoe Malin is an associate updates editor at NBC Select who writes about kitchen tools, including pie making tools, dinnerware sets, cookware sets, meal prep containers, ice cream makers and more. For this article, she interviewed four experts about how to make cookies and the tools they find helpful while doing so.
Catch up on NBC Select’s in-depth coverage of personal finance, tech and tools, wellness and more, and follow us on Facebook, Instagram, Twitter and TikTok to stay up to date.
Source: | This article originally belongs to Nbcnews.com